Getting Started
Floating Row Covers
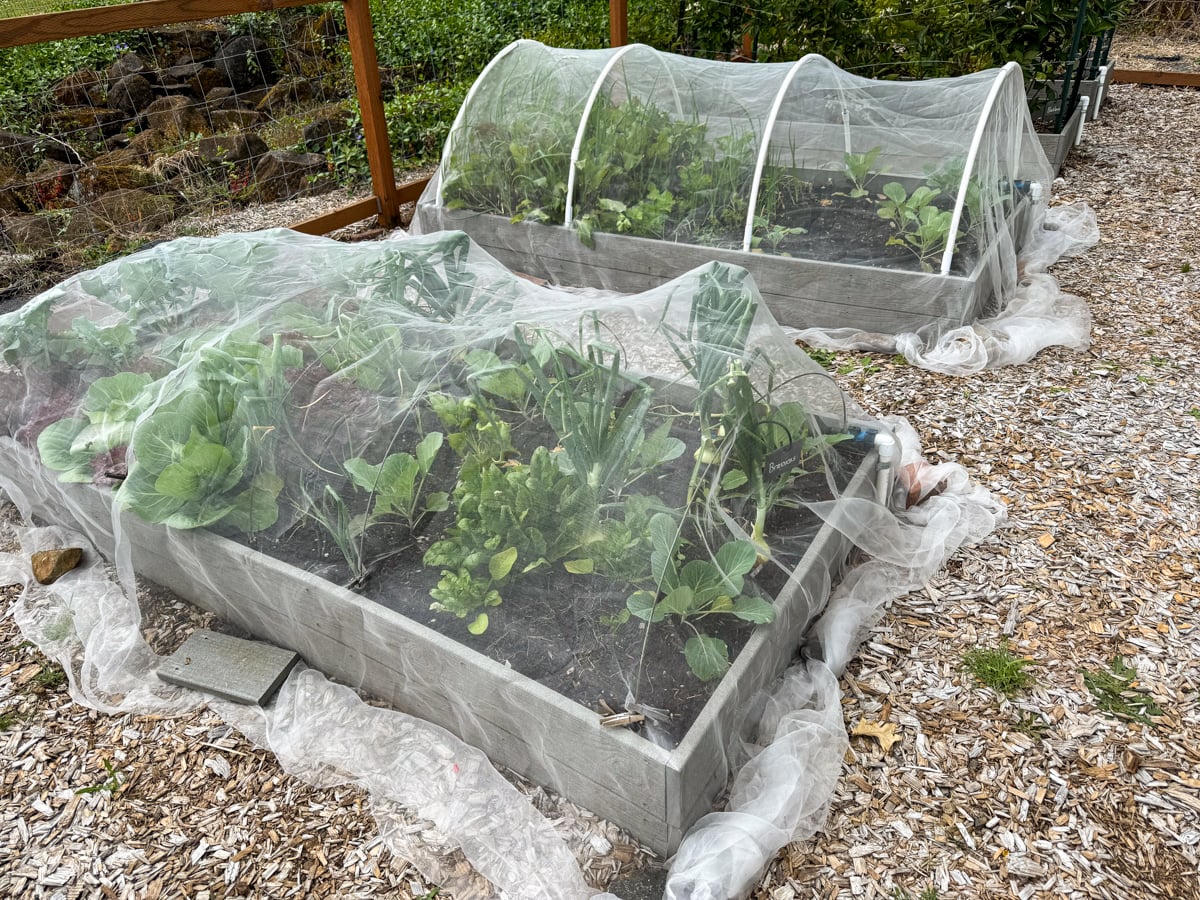
A floating row cover is a lightweight fabric (often spun-bonded polypropylene) that lets light, air, and water through while holding a little heat and excluding many flying insects. If growing from seed, start at step 1. If from transplants, start at step 9.
- 1. Prepare a fine, moist seedbed and sow as usual. Mark the row.
- 2. Cut cover 2–3 ft longer than the bed and wide enough to drape to the soil on both sides with slack in the middle — plants need room to grow.
- 3. Unroll the cover so it floats, not stretched drum-tight.
- 4. Bury the two long edges 3–4 inches into the soil, or pin them every 2 ft. Buried edges stop wind and cabbage moths.
- 5. Leave a fold of slack down the center of the bed so the fabric can rise with the crop.
- 6. Water through the cover, or lift an end on a calm day. The fabric is permeable; a hard crust underneath still needs water.
- 7. For a low tunnel, push wire hoops (or opened wire coat hangers on a short bed) into the soil every 3–4 ft and drape the cover over them.
- 8. Check weekly that edges are still sealed and that plants’ stems are not trapped in a pinched fold.
- 9. Transplants: set plants, water, then install the cover the same day so insect pests never find the bed.
- 10. Remove cover when the crop needs pollinators (cucumbers, squash, tomatoes, peppers, berries) or when heat builds up. For brassicas grown only for leaves or heads, you can leave it on until harvest.
Row cover is made of something that looks like interfacing, not plastic sheeting. It will tear on brambles; it will not replace a fence against rabbits.